How to Clean a Keyboard: Sticky Keys, Crumbs & Spills
A grimy or sticky keyboard isn't just unpleasant — dust and spilled sugar are two of the most common causes of keys that stop registering or start double-typing. Here's how to clean one properly, how to pull keycaps without snapping a stem, and exactly what to do in the first minute after a spill.
What you'll need
A thorough clean needs only a handful of cheap tools, most of which you probably already own:
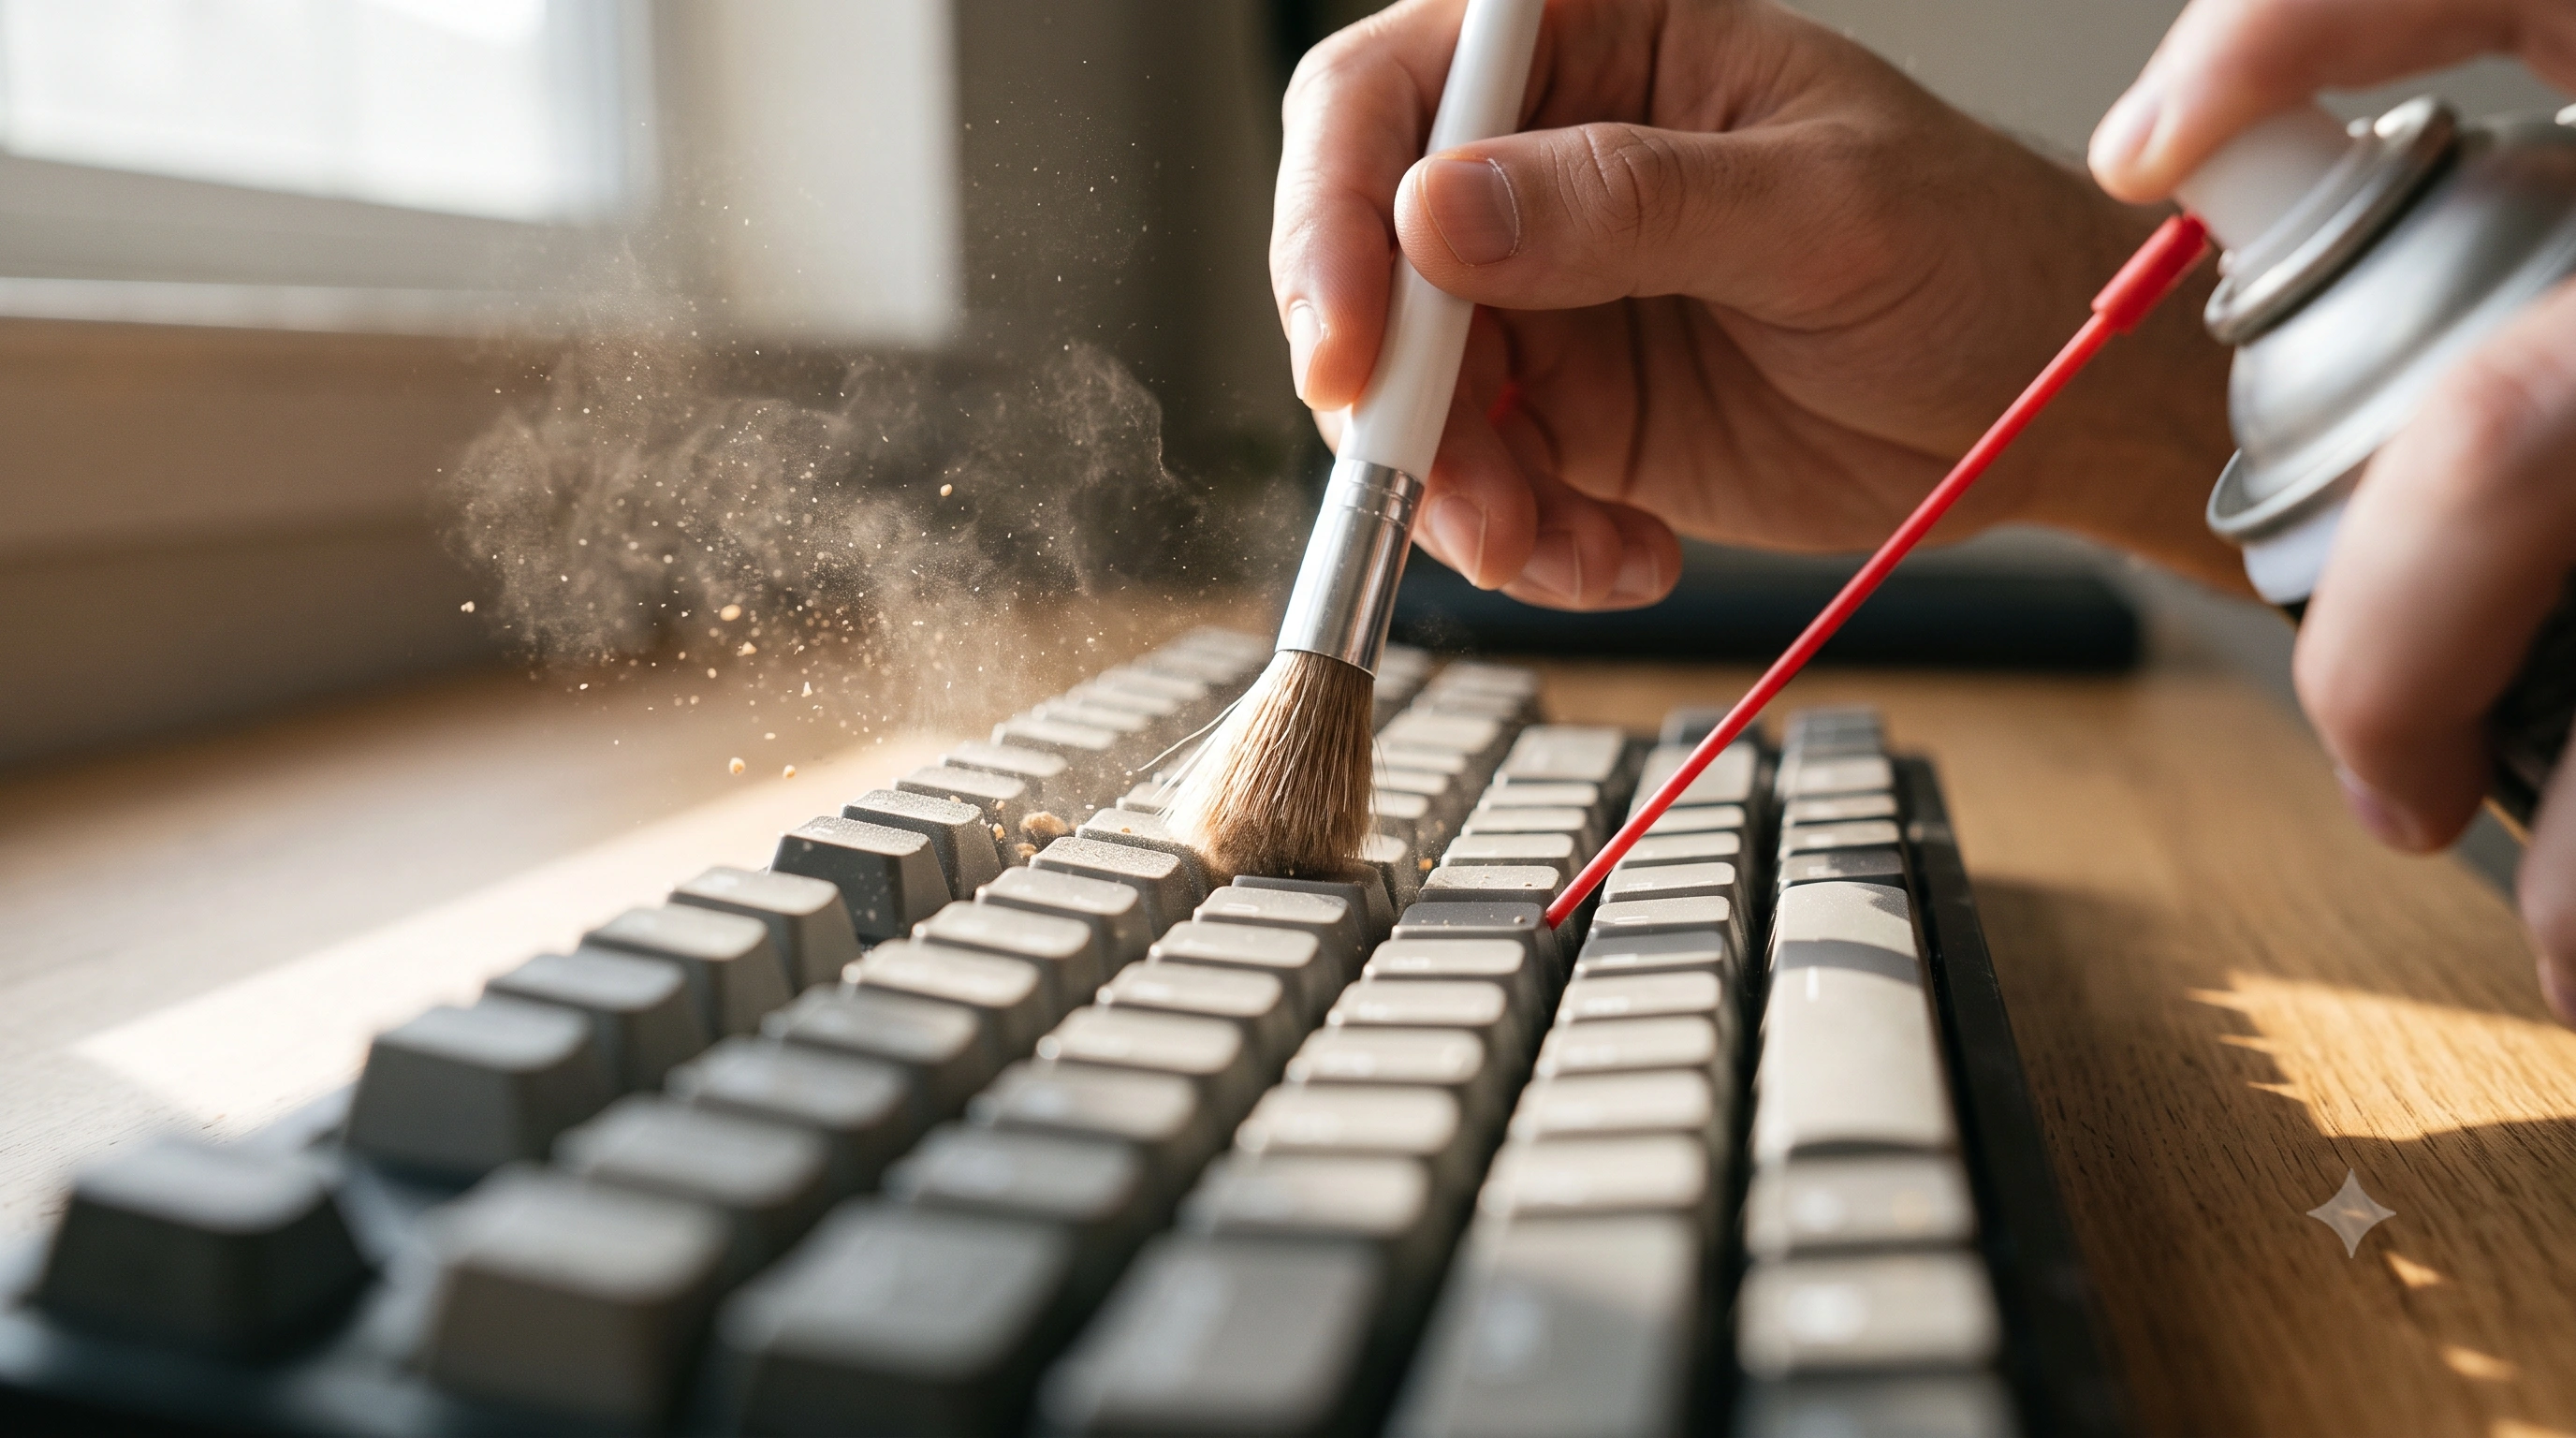
- Compressed air (a can, or a rechargeable duster) to blast debris out from under the keycaps.
- A soft brush — a clean paintbrush works fine — for dust the air alone won't shift.
- Isopropyl alcohol, 70–99%, plus lint-free cloths or cotton swabs, for wiping caps and switches.
- A keycap puller (wire-loop or claw style) — a couple of dollars online, and far safer than a butter knife.
- Optionally, a microfiber cloth and mild soap and water for the case itself.
Skip anything abrasive, ammonia-based, or bleach-based — it can strip keycap coatings or cloud switch housings. Apply cleaner to the cloth or swab first, never spray directly onto or into the keyboard.
Safe surface cleaning, step by step
This covers routine dust, crumbs, and everyday grime — do this every few weeks and you'll rarely need anything more involved.
- Power off and disconnect. Unplug a wired keyboard, or turn off and unpair a wireless one, so stray keystrokes don't reach your computer.
- Shake it out. Hold it upside down over a bin and give it a few firm shakes and light taps on the back — most crumbs and hair fall straight out.
- Blast with compressed air. Keep the can upright (tilting sprays cold propellant instead of air) and sweep short bursts across each row at an angle, so debris flies out sideways rather than under adjacent keys.
- Brush the gaps, then blast again — the brush loosens anything the air alone missed.
- Wipe the caps and case with a cloth dampened (not soaked) in isopropyl alcohol. A lightly moistened cotton swab gets into grooves and legends without pooling liquid anywhere.
- Air-dry for a few minutes before plugging back in — isopropyl evaporates fast, but give it a moment.
Removing keycaps safely
For a proper clean under and between the keys, pull the caps rather than working around them.
- Hook the puller's wires or claws under opposite edges of the keycap.
- Pull straight up, evenly — never rock side to side or pull at an angle, which is what snaps the plastic stem underneath.
- Set caps aside in removal order (a phone photo of the layout first is cheap insurance) so reassembly is trivial.
- Wipe or soak the caps, clean exposed switch stems with a dry brush and a damp swab, then let everything dry fully before refitting.
Two exceptions. Laptop and scissor-switch keys sit on a fragile plastic retainer clip rather than a simple stem — these crack easily and are hard to source individually, so stick to compressed air and a damp swab around the edges instead of pulling them. Large stabilized keys — spacebar, Enter, Shift, Backspace — also ride on a stabilizer wire, so pull them slowly from both ends at once; pulling from one side can bend the wire and leave the key feeling wobbly, which no cleaning fixes.
Before you go any further: open the keyboard tester in another tab now, so once you've finished cleaning you can immediately confirm every key still registers — rather than discovering a problem days later.
Deep cleaning a mechanical keyboard
Mechanical boards tolerate a far more thorough clean than membrane or laptop keyboards, since the switches sit above the PCB rather than sealed into a rubber membrane sheet.
- Remove every keycap and soak them in warm water with a drop of dish soap for 15–20 minutes, then rinse and air-dry completely — this alone fixes most "sticky key" complaints, since the stickiness is almost always dried residue on the cap, not the switch.
- With the caps off, blast the exposed switches and plate with compressed air from several angles to clear dust the caps had been trapping.
- A switch that still feels scratchy can take a small amount of switch lubricant on the stem — optional, and mainly worth it on boards you're keeping long-term. On hot-swap boards you can also pull individual switches for a deeper clean; on soldered boards, stick to what's accessible from the top.
- Reassemble once everything is bone dry, and wipe the case with a barely damp cloth.
For photographed, board-specific walkthroughs, iFixit'sdeep-clean mechanical keyboard guideis a solid reference for anything unusual you run into.
What to do in the first 60 seconds after a spill
Speed matters more than technique here. Work through these in order, without overthinking any one step:
- Power off immediately. Don't finish the sentence you were typing — shut the machine down, or unplug/switch off a desktop keyboard.
- Cut the power source. Disconnect the USB cable, or pull the batteries. Cutting live current is what actually prevents lasting damage — liquid alone is often survivable if nothing is powered.
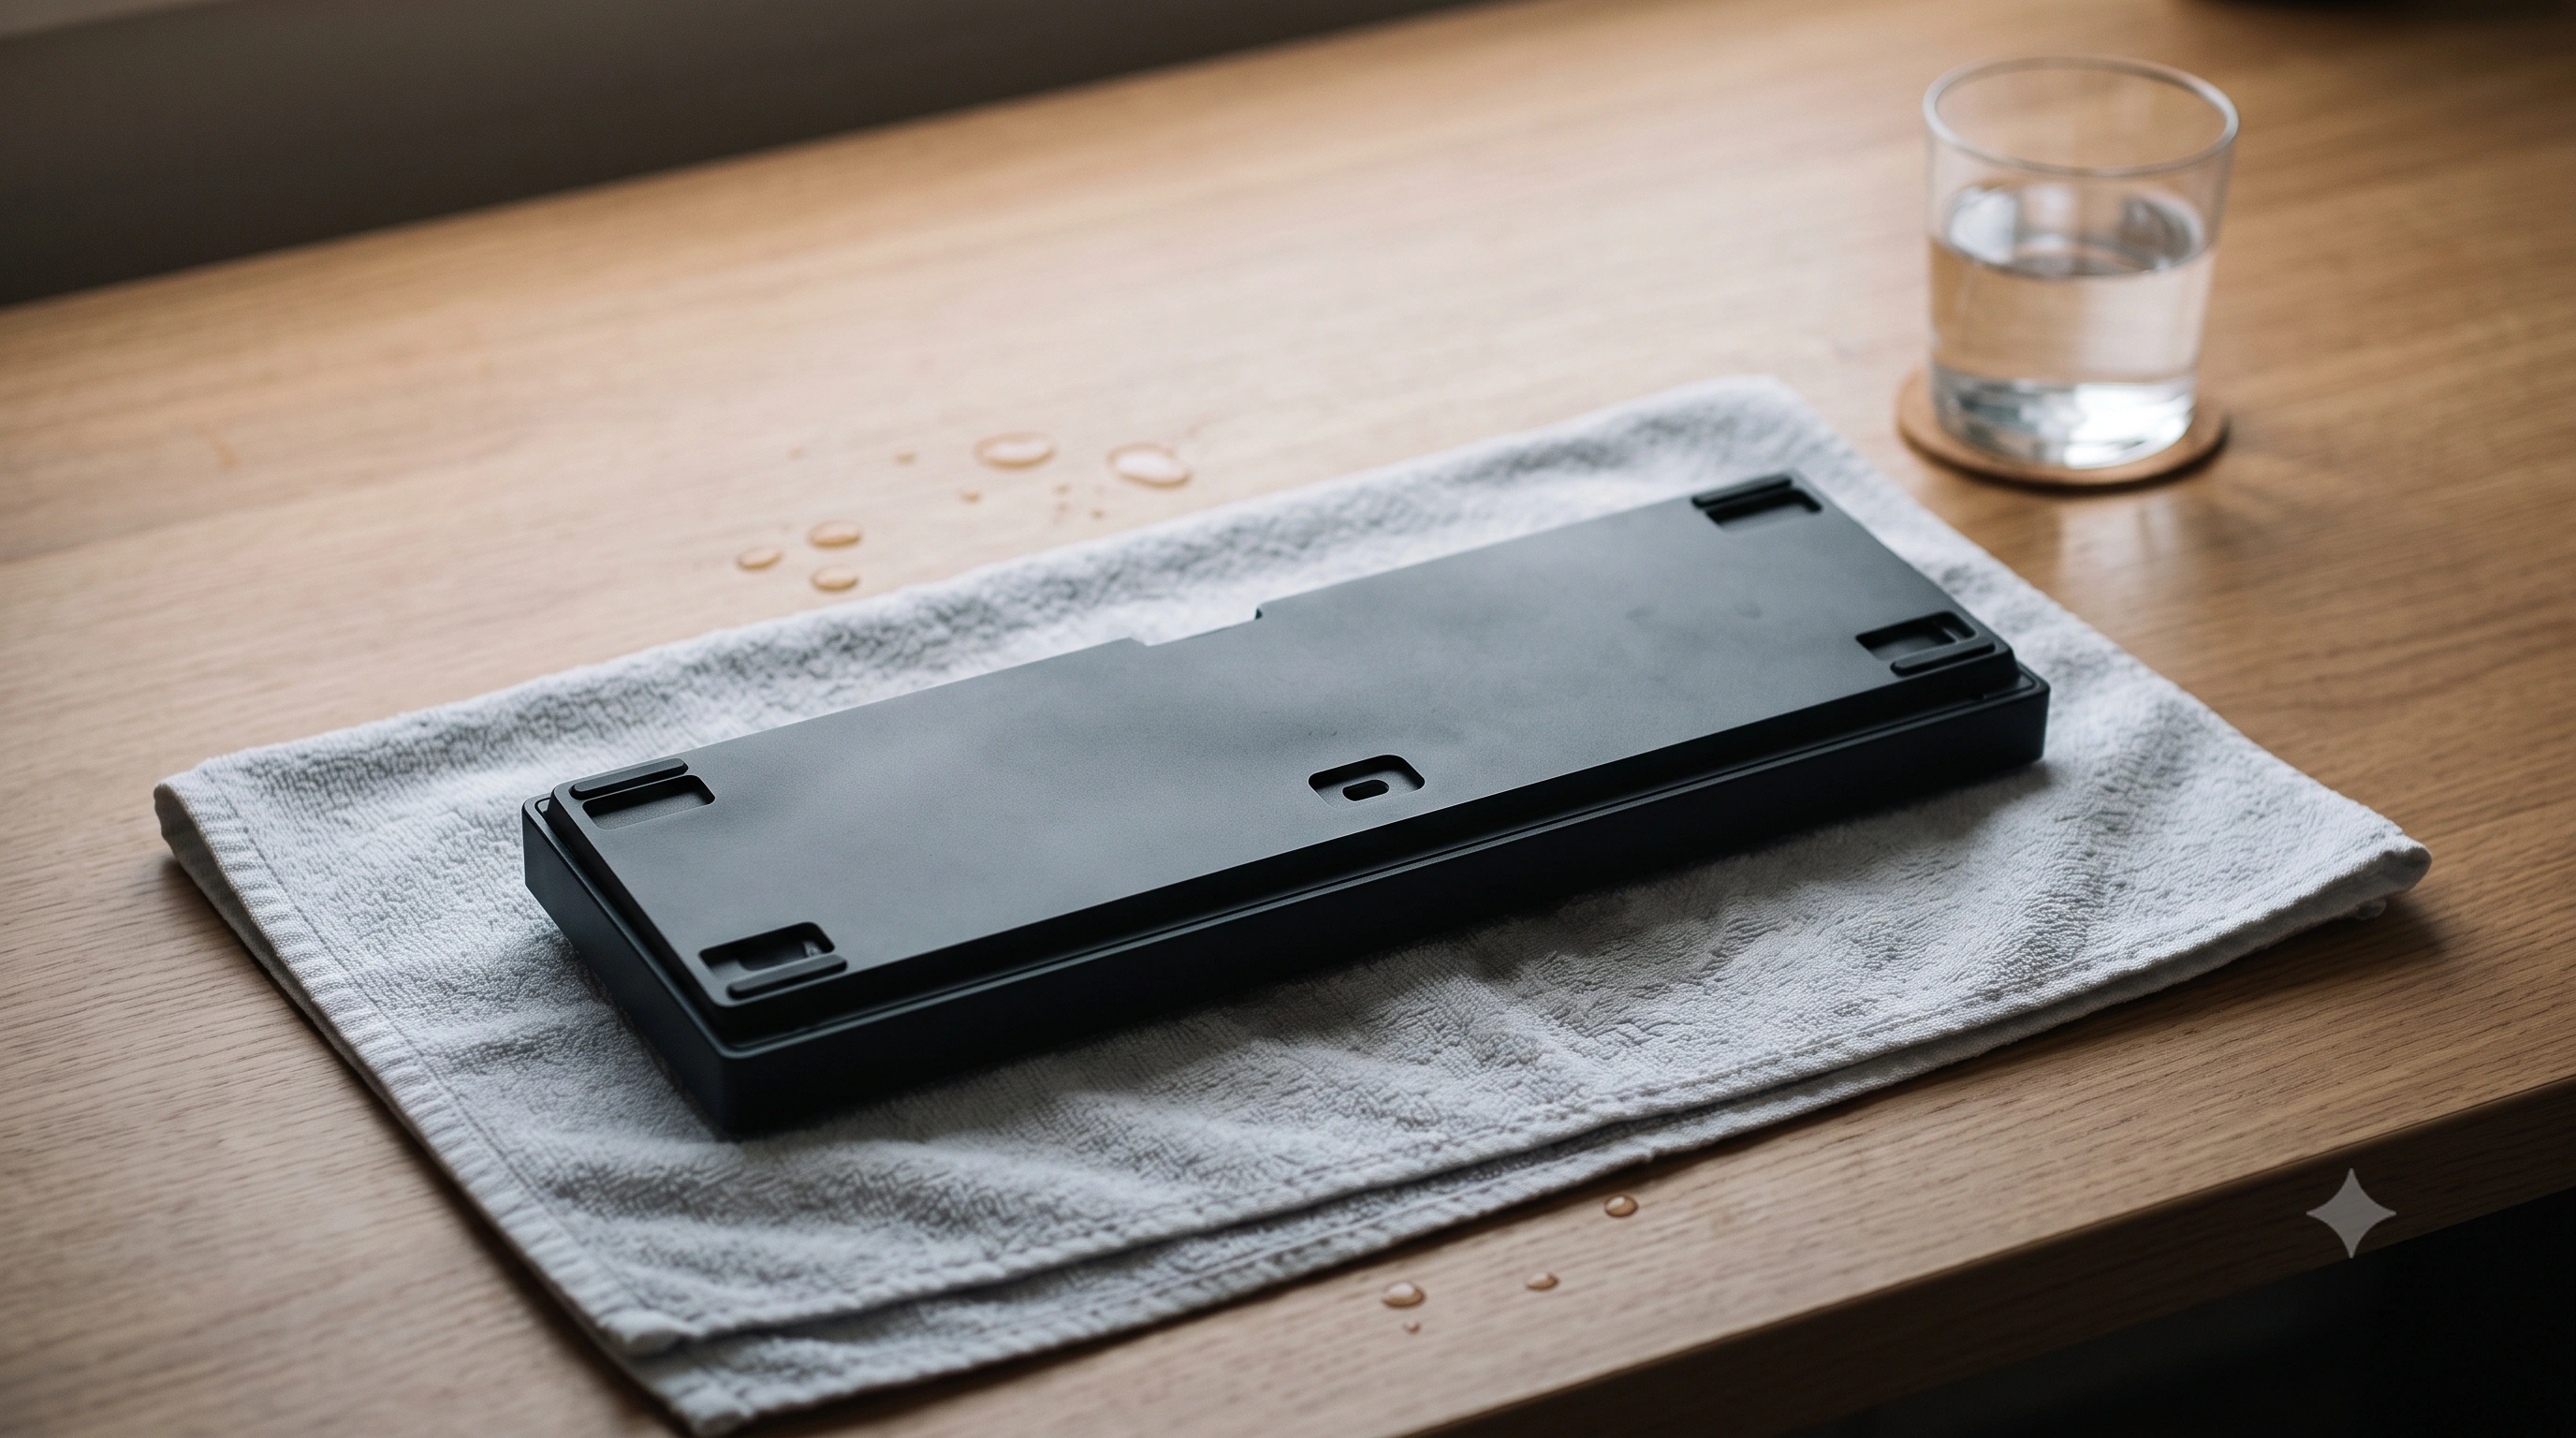
- Invert it immediately over a sink or towel so gravity pulls liquid back out the way it went in, instead of settling into the switches and PCB.
- Blot, don't wipe, the underside and keys with paper towels to soak up what's pooling, rather than smearing it further in.
- Leave it inverted for at least 48 hours before reconnecting power. Testing early is what causes stuck or double-firing keys days later, from residual moisture on live contacts.
If the spill was a sugary or sticky drink
Water alone rarely leaves lasting damage once dry, but soda, juice, coffee, and anything sugary leaves sticky residue behind as it evaporates — that's what causes keys to feel mushy or double-type for weeks afterward, even once everything looks dry. After the 48-hour dry-out, remove the affected keycaps and clean both the caps and exposed switch housings with a swab dampened in isopropyl alcohol. Isopropyl dissolves sugar residue that plain water won't fully lift, and evaporates without leaving a film behind.
Laptop keyboards need extra care
A laptop keyboard sits directly above the motherboard and battery with far less clearance than a standalone board — there's often nowhere for liquid to drain before it reaches something expensive. The power-off and invert steps above still apply, but do them immediately rather than finishing what you were typing. Don't accelerate drying with a hairdryer or direct heat, and don't remove laptop keycaps yourself unless you're comfortable with the fragile retainer clips mentioned earlier. Apple's ownMacBook keyboard cleaning instructionsshow how conservative official guidance tends to be, and it generalizes well to other laptop brands.
When a spill means professional service, not cleaning
Get it looked at by a professional rather than continuing to DIY it if: the spill was anything other than water (coffee, soda, juice, alcohol, anything sugary or acidic); the laptop won't power on at all after drying; you see corrosion, discoloration, or a burning smell; or keys in several different areas of the board are affected rather than a small, contained patch. Battery-adjacent spills on laptops deserve an especially cautious look, since a damaged battery is a fire risk not worth troubleshooting yourself.
Finish by retesting every key
Once everything is reassembled and fully dry, don't just assume it worked — confirm it. Open thekeyboard tester and press every key on the board, including modifiers, arrows, and the function row. Anything that stays dark, feels different from its neighbors, or fires twice from one tap is worth a second pass with compressed air and a swab before calling the job done. If a key still won't register after a thorough clean, it's likely no longer a cleaning problem — seekeyboard keys not working for what to try next.